LOWER BACK
1. Abdominal Bracing

Description:
Abdominal bracing is a core stabilization exercise that strengthens the abdominal muscles and improves posture.
Steps:
- Starting Position: Sit upright in a chair with your feet flat on the floor.
- Hand Position: Place your hands on your hips or on the sides of the chair for stability.
- Engage Your Core:
- Inhale deeply.
- As you exhale, gently draw your belly button toward your spine.
- Tighten your abdominal muscles as if preparing to take a punch.
- Hold this contraction for 10–15 seconds while continuing normal breathing.
- Release: Relax and repeat for 10–15 repetitions.
Tips:
- Focus on deep abdominal contraction, not breath-holding.
- Keep your spine neutral throughout.
- Gradually increase the hold time as strength improves.
General Tips:
- Perform regularly to improve core strength, flexibility, and reduce stiffness.
- Consult a healthcare professional if you have medical concerns.
- Stop if any exercise causes pain or discomfort.
2. Seated Marches with Abdominal Bracing

Description:
This exercise improves core stability and coordination while seated.
Steps:
- Starting Position: Sit on the edge of a chair with your back straight and feet flat on the floor.
- Abdominal Bracing: Engage your core as described above.
- Marching Movement:
- Lift one foot slightly off the floor, keeping the knee bent.
- Alternate lifting each foot in a controlled marching motion.
- Continue for 30 seconds to 1 minute while maintaining bracing.
- Increase Difficulty (Optional):
- Lift your knees higher or march faster, but always maintain posture and core stability.
Tips:
- Keep your upper body stable, avoid leaning back.
- Move in a controlled manner, breathe steadily.
- Start short, increase duration as strength improves.
General Tips:
- Perform regularly to build core strength and reduce stiffness.
- Check with a professional if you have medical issues.
- Avoid movements that cause pain or strain.
3. Seated Figure Four Stretch
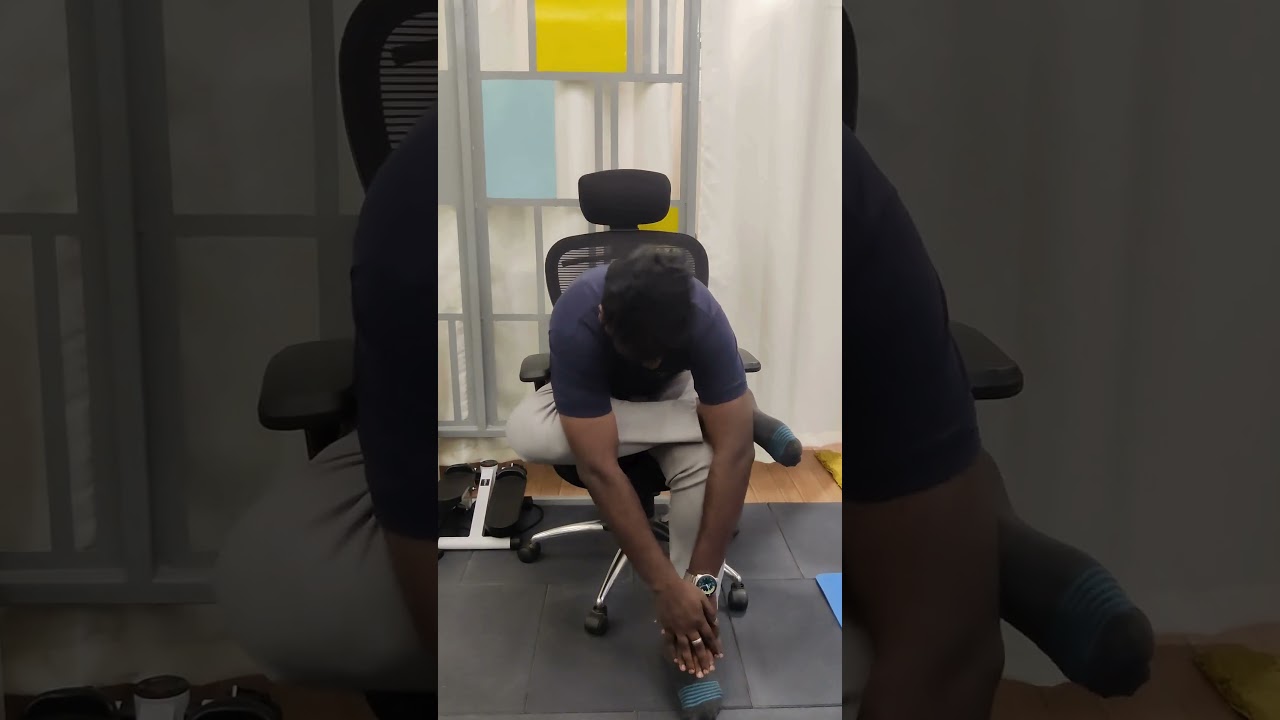
Description:
This stretch targets the glutes and hips, reducing tension and improving flexibility.
Steps:
- Starting Position: Sit on the edge of your chair with back straight and feet flat on the floor.
- Stretch Position:
- Lift your right foot and cross the ankle over your left thigh, forming a “figure four.”
- Flex your right foot to protect the knee and ankle.
- Gentle Pressure (Optional):
- Gently press down on your right knee with your hand for a deeper stretch.
- Keep your spine straight, avoid rounding.
- Hold and Breathe:
- Hold 15–30 seconds, feeling the stretch in the right hip and glute.
- Relax and breathe deeply.
- Switch Sides: Repeat on the other side.
Tips:
- Control intensity by adjusting knee pressure.
- Maintain upright posture, avoid slouching.
- Perform 2–3 stretches on each side, increasing duration gradually.
General Tips:
- Add regularly to reduce stiffness and improve hip flexibility.
- Consult a healthcare professional if you have medical concerns.
- Stop immediately if pain occurs.